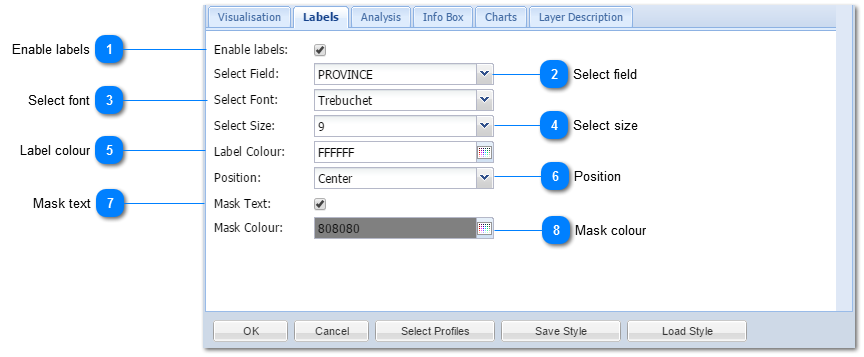
MapAble offer the user a range of tools to add and customise Labels of layers in the map. The following section will describe these labeling tools:
 Enable labelsThe enable labels button needs to be ticked if the user want to label the layer. This is very handy to tick on and of when labels start to clutter maps.
|
 Select fieldThe user need to select the specific column in the attribute table which the labels will be retrieved from. When clicking on the drop down list, the desired column can be selected.
|
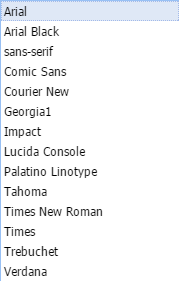
 Select fontMapAble offers the user a selection of fonts to use for labeling. The following fonts are available:
|
 Select sizeThe size of the font can be selected from a drop down list.
|
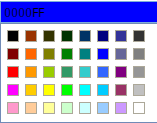
 Label colourClick on the  button to get colour options or type in any HEX color code of choice.
The default colour palette looks like this:
|
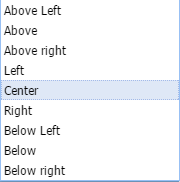
 PositionThe position relative to the layer entity can be set here. This is mostly applicable to point layers. The Position drop down list looks like this:
|
 Mask textA mask is a little halo that can be placed around the text to make it a bit more accentuated.
A non-masked label looks like this:  A masked label looks like this: 
|
 Mask colourThe mask colour of choice can be set here. Click on the button to get colour options or type in any HEX color code of choice. |