Uploading a shapefile
The user can upload new data to the MapAble spatial database on the server. This section will explain the process of uploading a shapefile to the server.
|
|
Please note:
There are some format and quality conditions for uploading a shapefile.
|
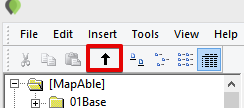
First the user should open up the desired workspace and sub folder where the data should be stored. The user can access the update tool by clicking on the Update button:
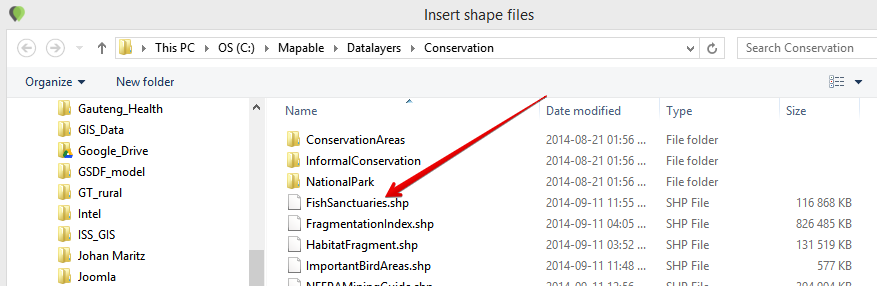
MapAble Loader will ask the user to locate the shapefile on his PC or network:
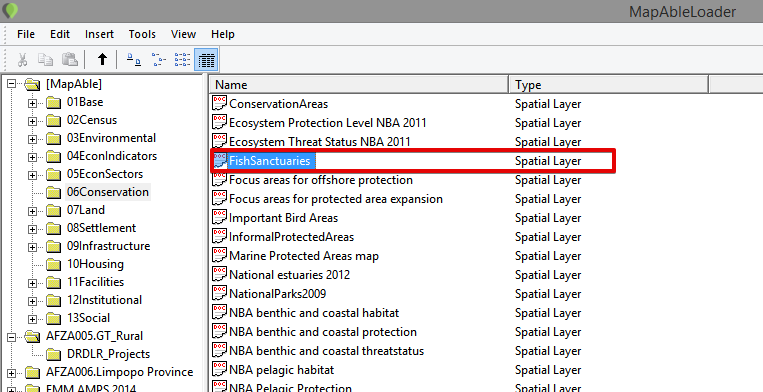
The uploading process will commence. MapAble loader does various check on the formatting and quality of the shapefile before it uploads. When the quality criteria is met, the upload will start.

When the upload process is finished, the data layer will be shown in the selected folder.
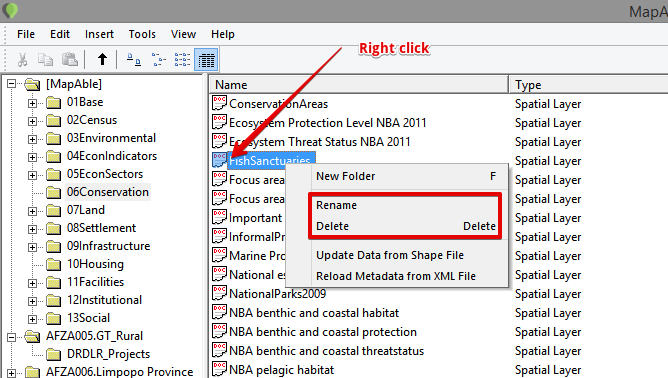
After uploading, the user can Rename or Delete a data layer by right-clicking on the layer and choose the relevant option in the menubar: