Content
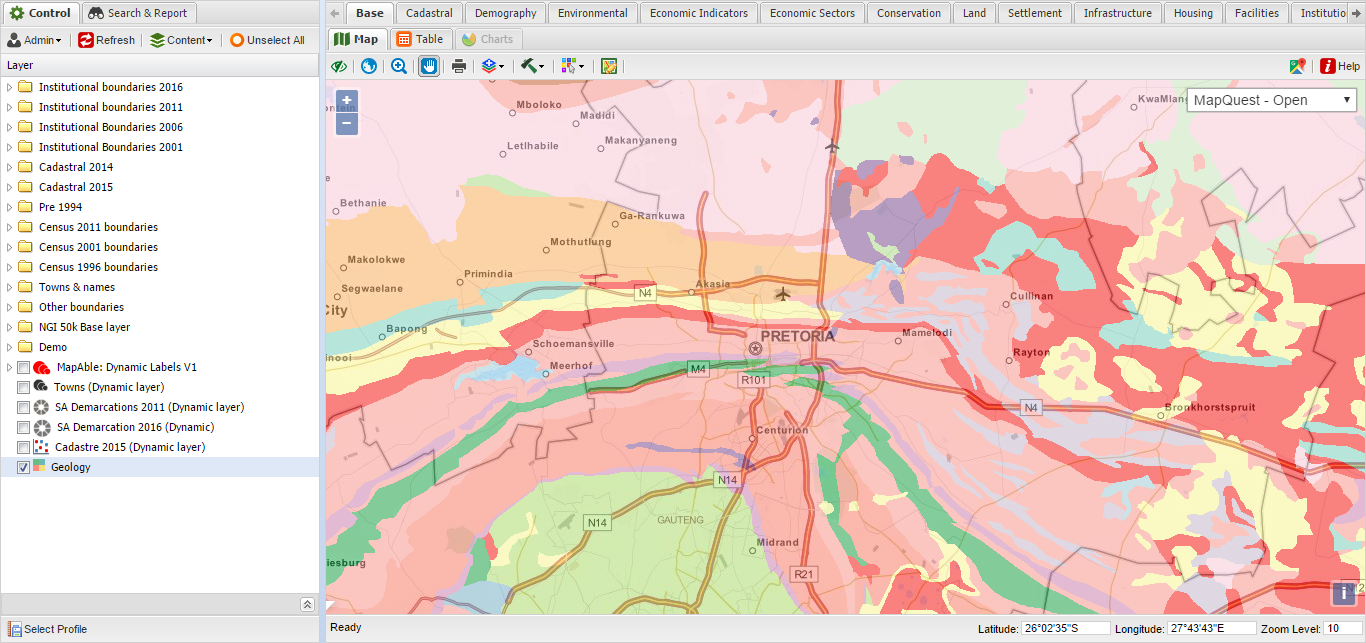
The Content menu features a range of tools with which the user can work with reports and data layers. This is the main link to the spatial database on the MapAble® Server. The following tools will be described on more detail below:
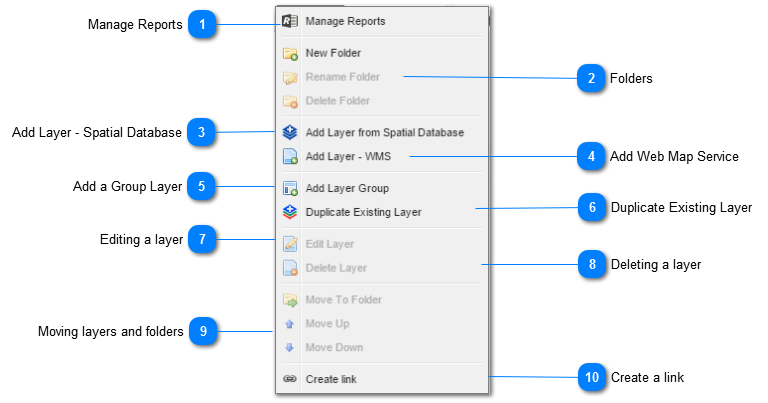
Manage ReportsThe management of reports and queries are entered from here. Please go to the Spatial Reports section for more detail.
|
FoldersFolders are very handy to group selections of datalayers of a specific sub-topic within a topic tab. Folders are used when a large number of data layers starts to fill up the List of layers.
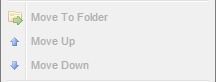
The following tools are part of the folders toolbox:
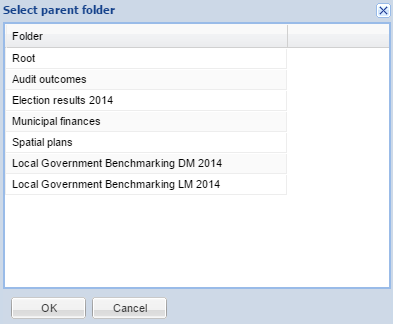
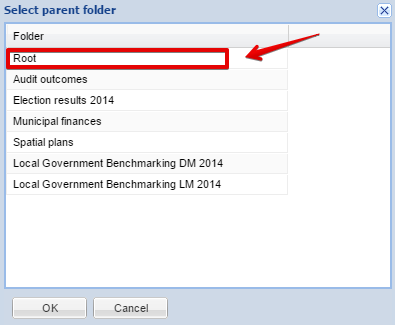
 Adding a new Folder will bring up the following input box. The user gives a custom name to the folder and click OK.
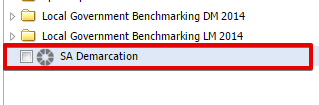
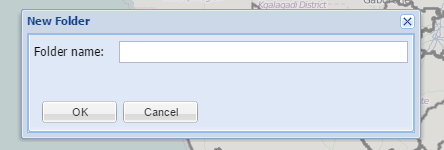 The folder will appear in the list of layers. Folders are always displayed on top of the list of layers and can be moved up or down amongst the other folders at the top of the list
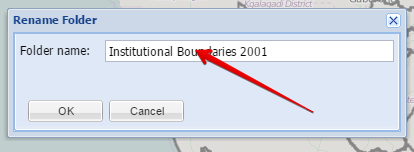
Editing a FolderTo edit a folder, the user clicks on the folder name in the list of layers to highlight it in blue:
 By clicking the Content>Edit Folder button, the folder can be edited in the following input box:
 Deleting a FolderTo delete a folder, the user clicks on the folder name in the list of layers to highlight it in blue:
By clicking the Content>Delete Folder button, the folder will be removed.
|
Add Layer - Spatial DatabaseAll layers uploaded to the Spatial Database with the MapAble Loader, can be added to the map view by clicking on the Content>Add Layer - Spatial Database Button.
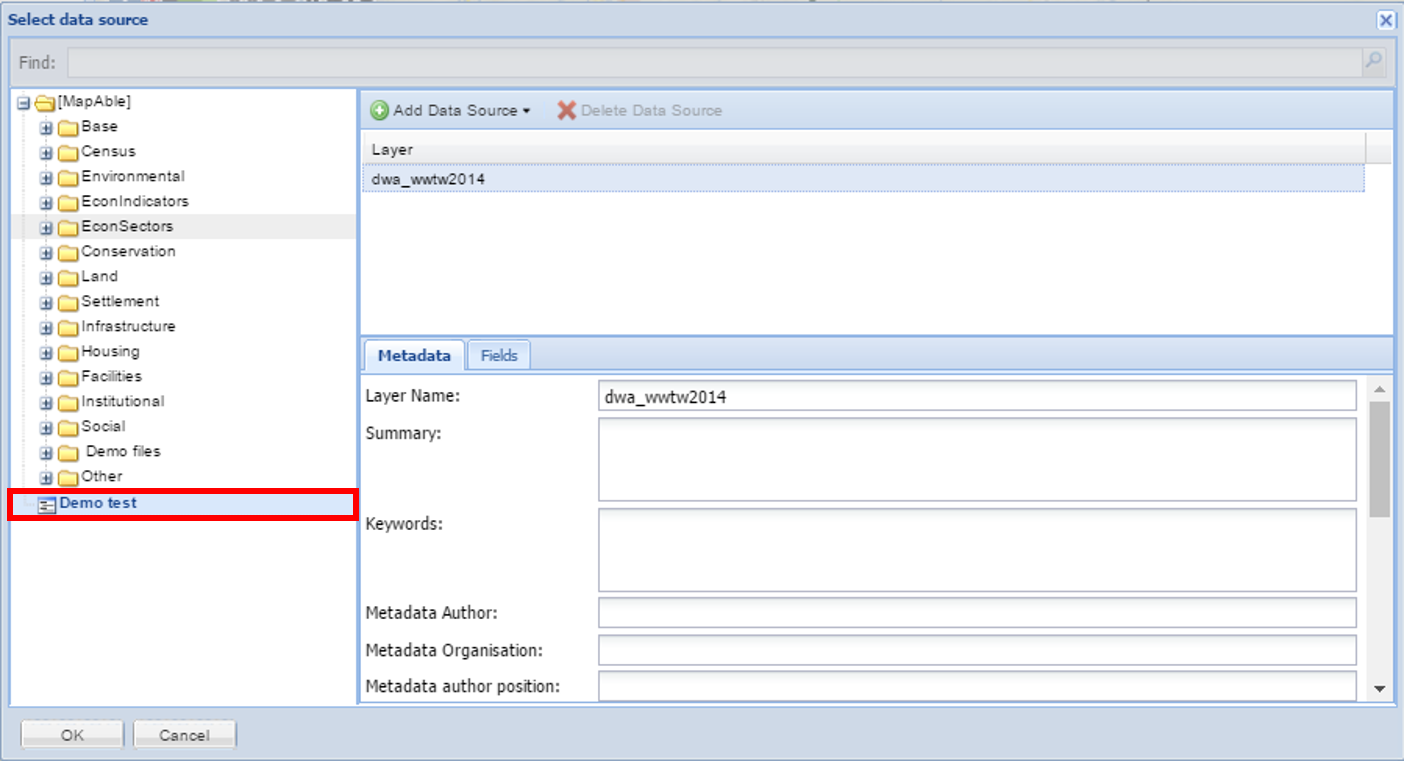
The following dialog box will open:
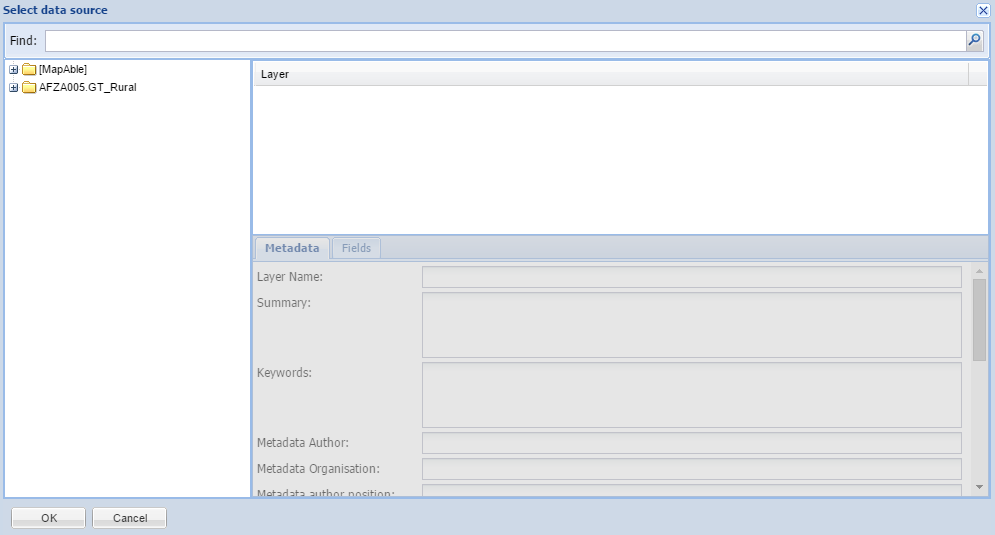 All the users subscriptions (folders) will be listed in the folders. The top most folder is always the MapAble® folder with all the data layers that is part of the MapAble® Spatial Database. The rest of the folders are the names of all the subscriptions.
There are 2 ways for the user to select the desired data layer. The first is to select from the directory structure and the second is to search for the layer with the Find tool.
To select from the directory structure, the user opens and manually searches in the directories for the specific layer.
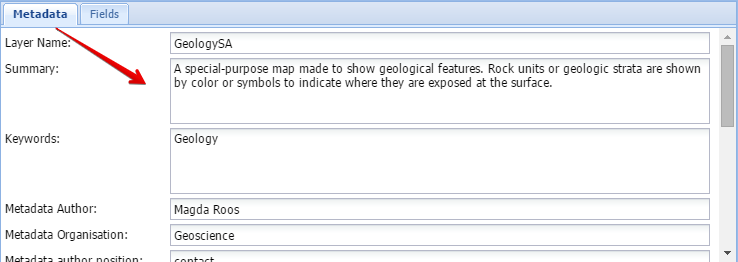
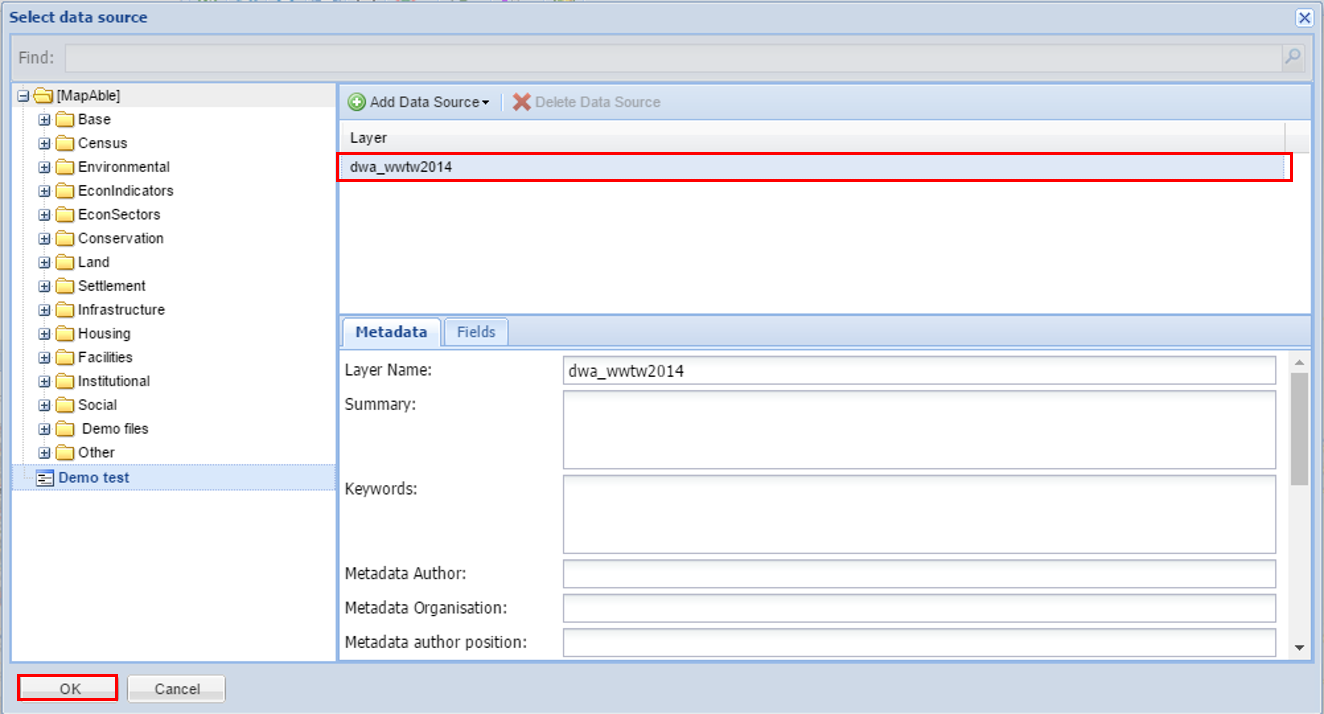
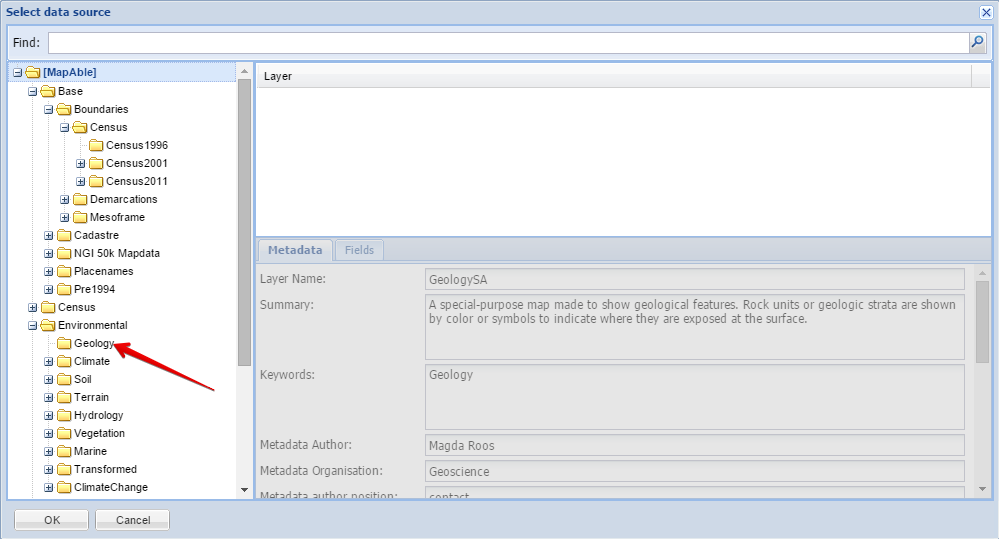 Once the user found the desired data layer, he can click on it and some metadata will be displayed in the metadata box:
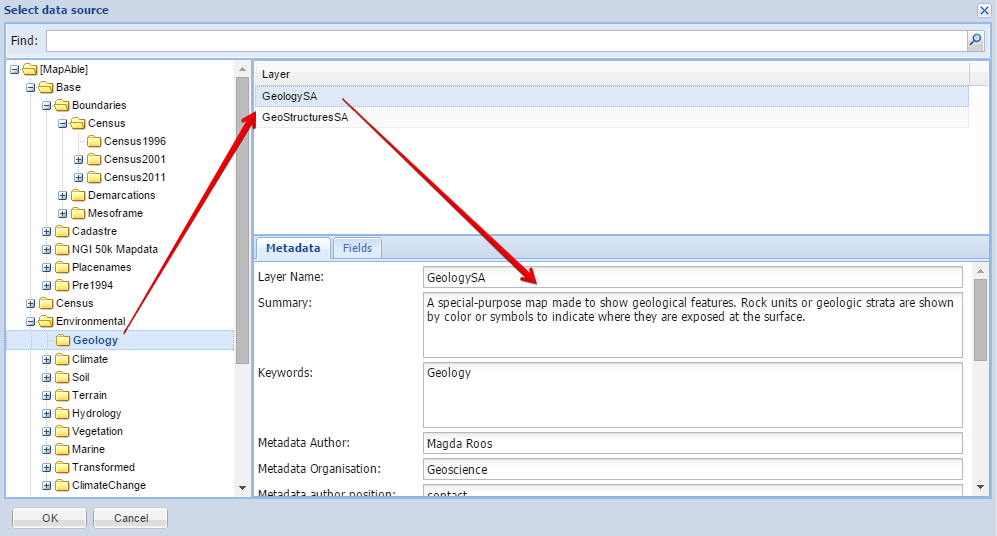 Once the user is satisfied that he found the correct layer, he /she can hit the OK button.
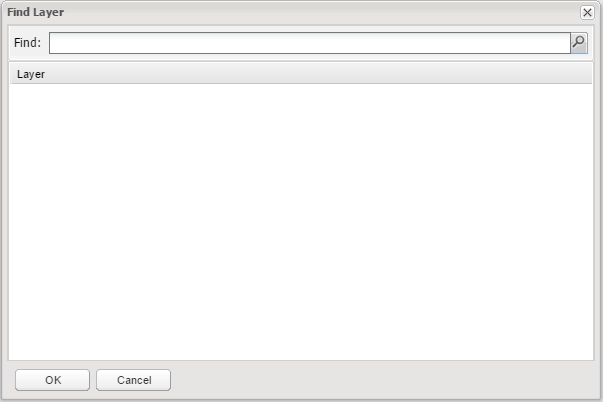
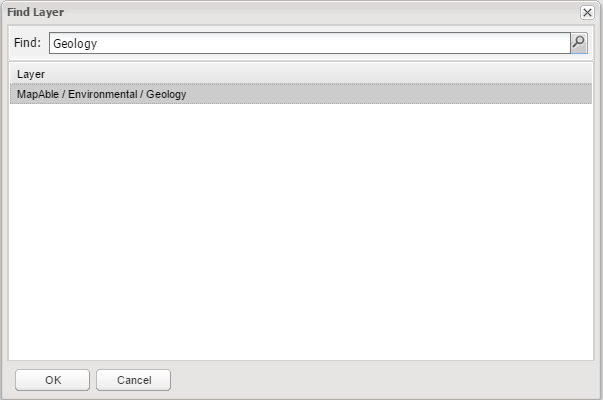
 The Find ToolThe Find tool was designed to assist the user to quickly find data layers. The user can type keywords in the box and hit the Magnifying glass to execute the query:
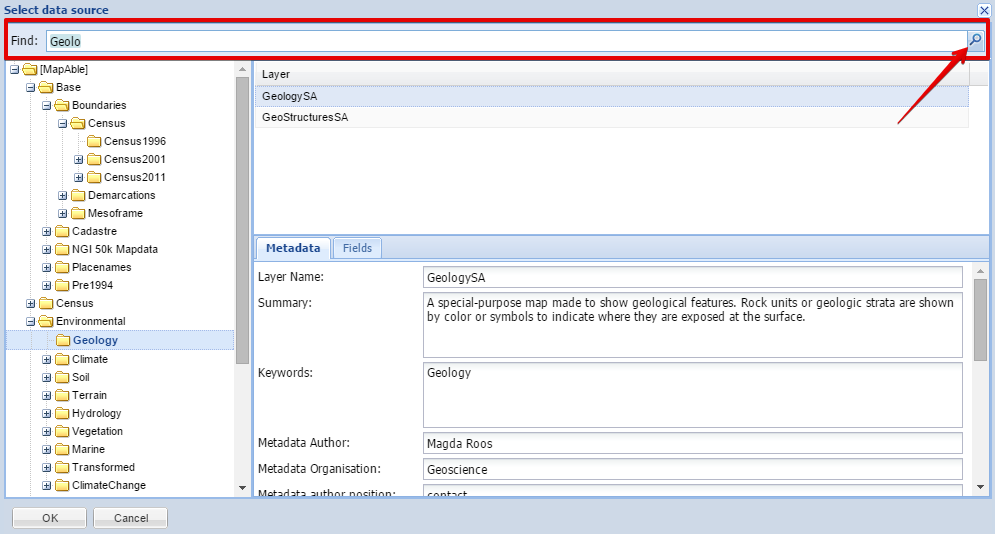 A list of all matching layer names will appear in the layer box:
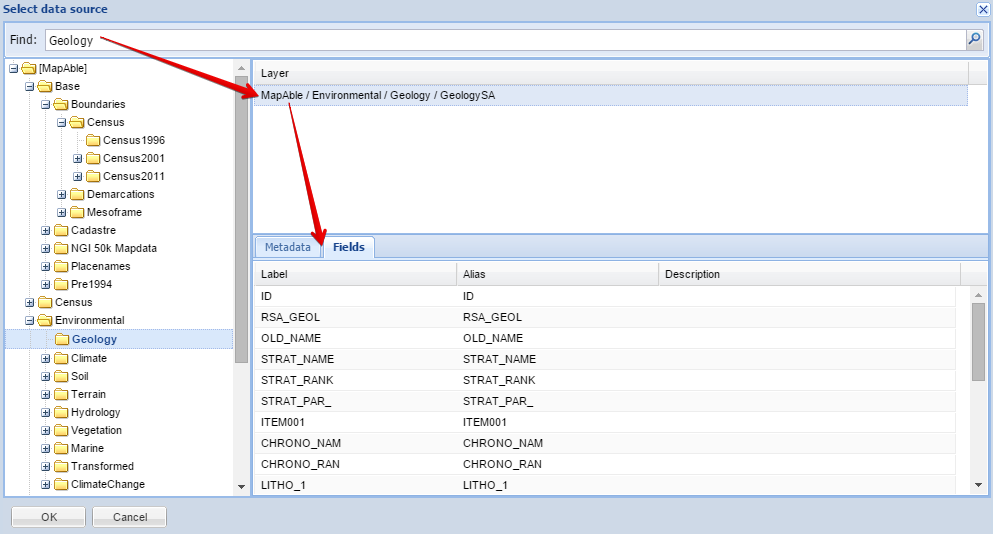 To assist the user, metadata and information on the data fields which describe the data layer is displayed:
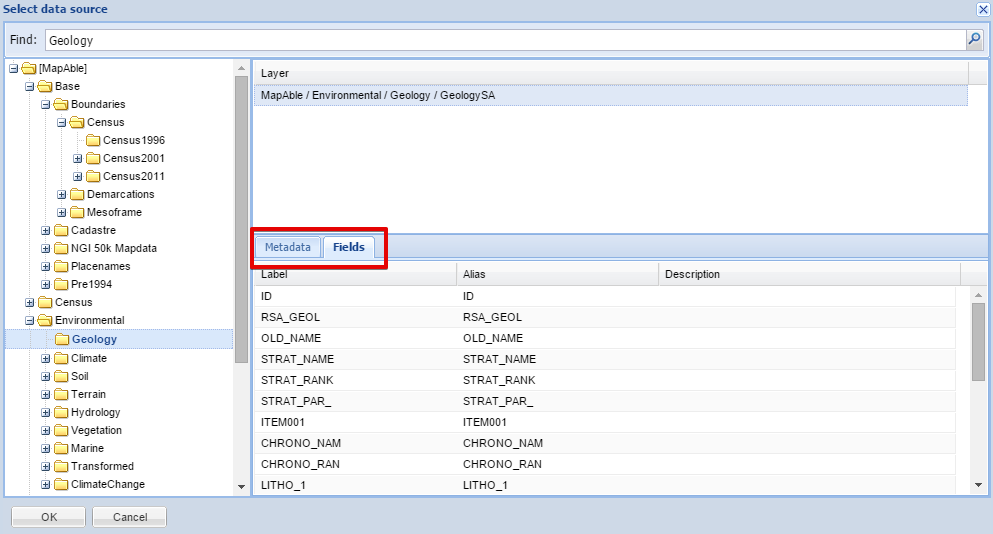 The metadata was captured during the uploading process with the MapAble Loader.
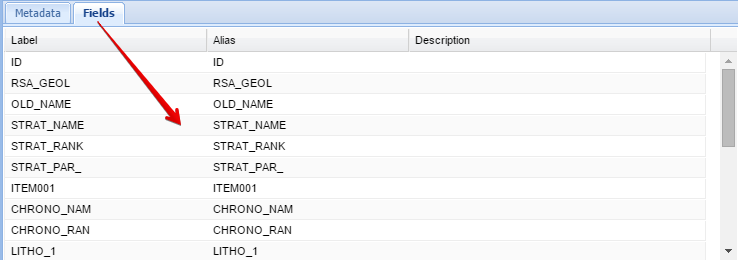
 The fields form part of the metadata and describes the content of the attribute table of the layer:
 Once the user is satisfied that he found the correct layer, he /she can hit the OK button.
After clicking the OK button, the following dialog will appear:
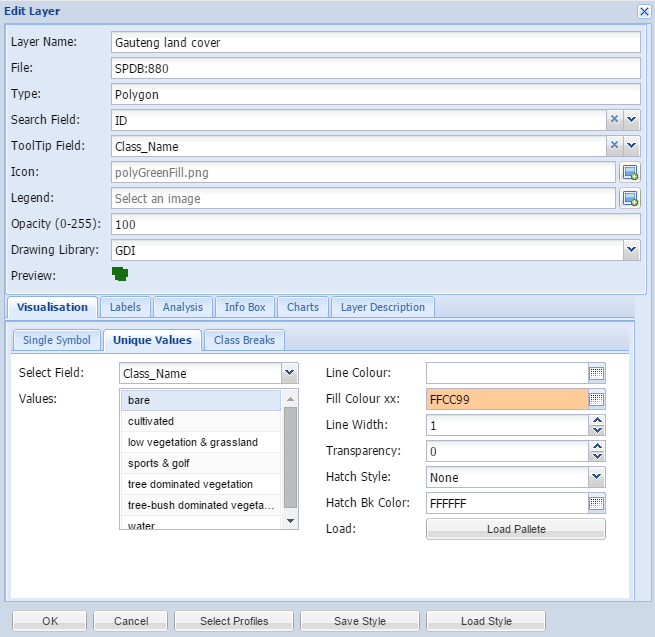
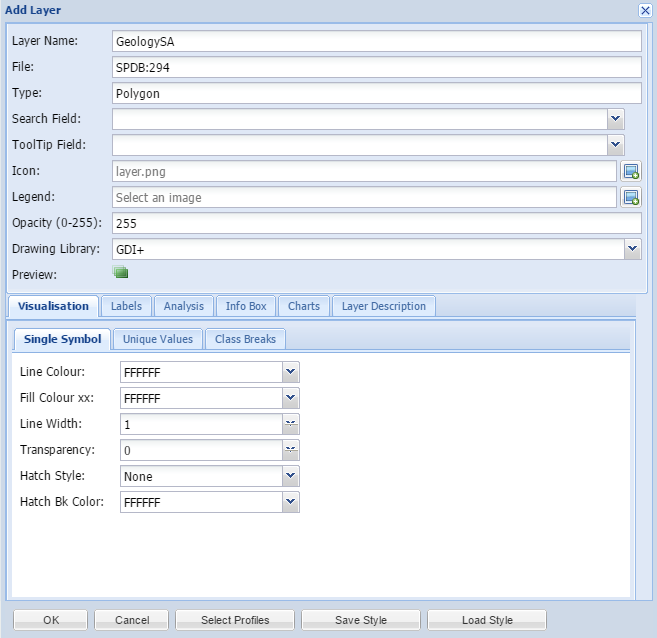 In the Add Data dialog box, the user can do all the visualisation and determine the behaviour of each data layer in MapAble®.
All the layers added from the MapAble® Spatial Database will have a default visualisation style which can be changed as well.
After the data visualisation settings were done, the selected layer will be added to the list of layers and can be displayed in the map.
 Loading a layer directly from your workspaceThe user can load a layer directly from the "Add Layer - Spatial Database Button" (either through the content dropdown or from the shortcut button above the viewpane.
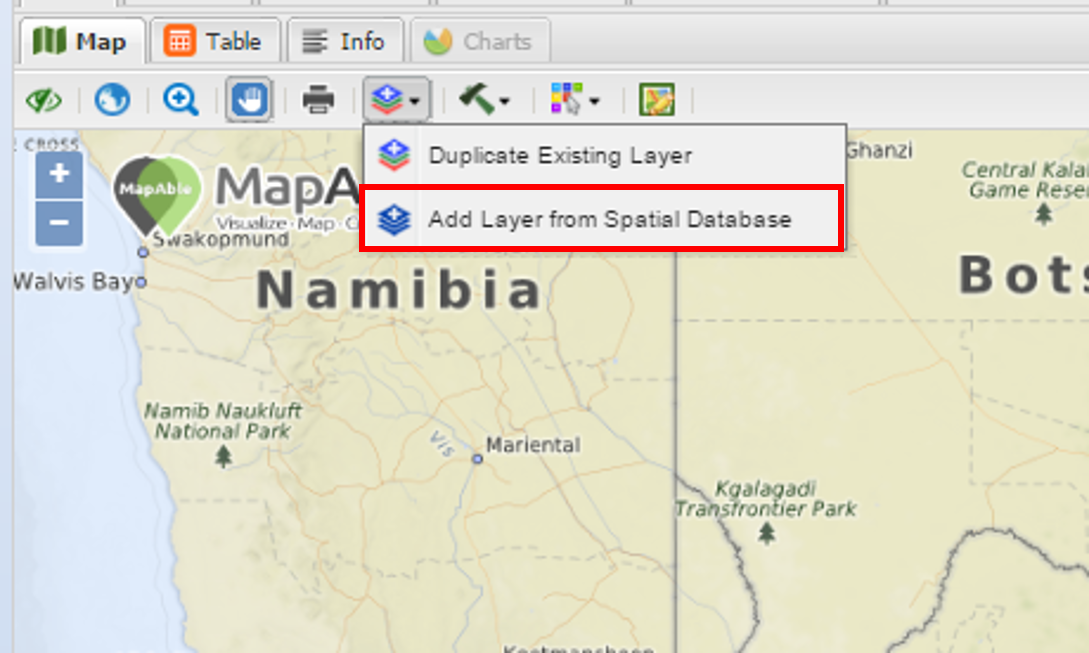 This opens the "Select data source" box, where the user selects their own workspace to upload data.
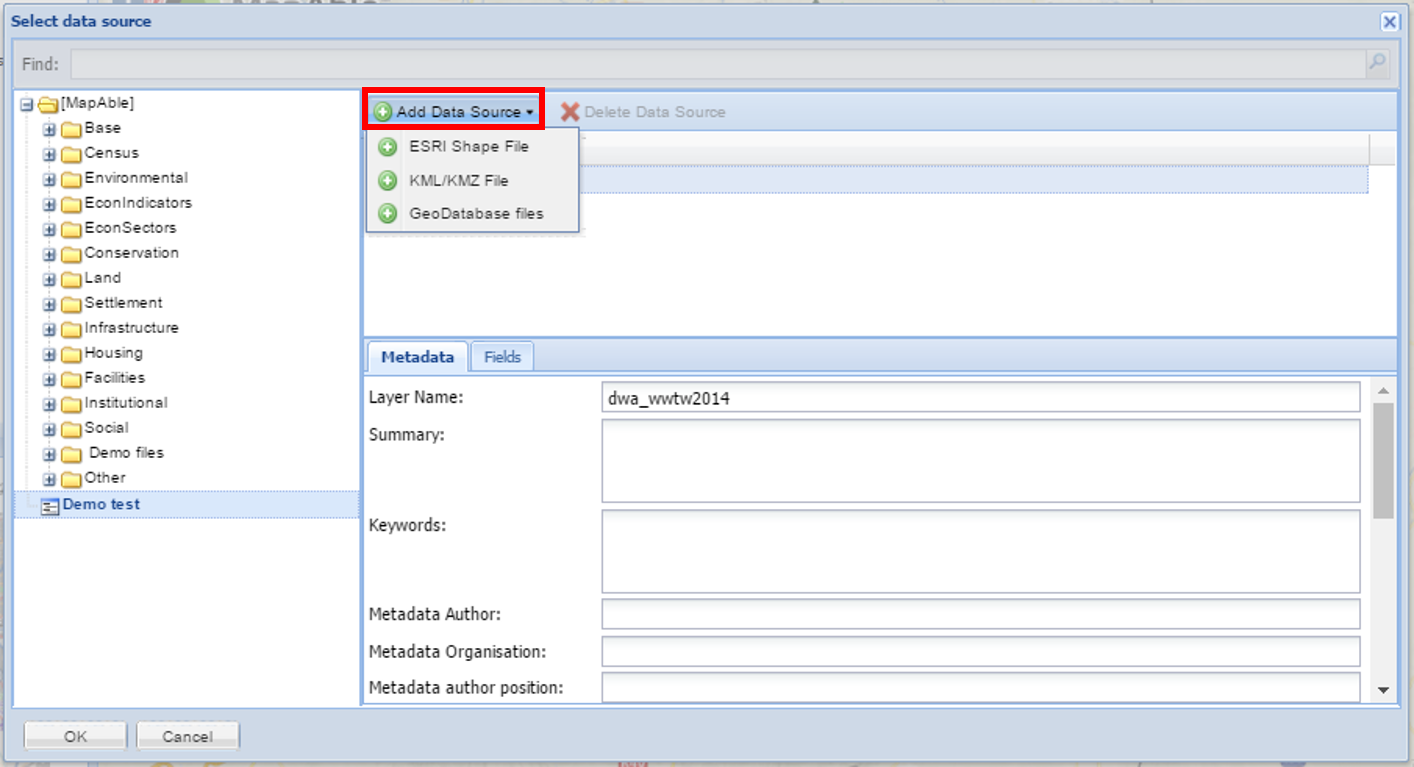
 Click on the "Add Data Source" to which opens a list, where after the user can select what type of file to load to their workspace. This includes ESRI Shapefiles, KML/KMZ Files and GeoDatabase files.
 After clicking on one of the options, the "Add Data Source" box opens up.
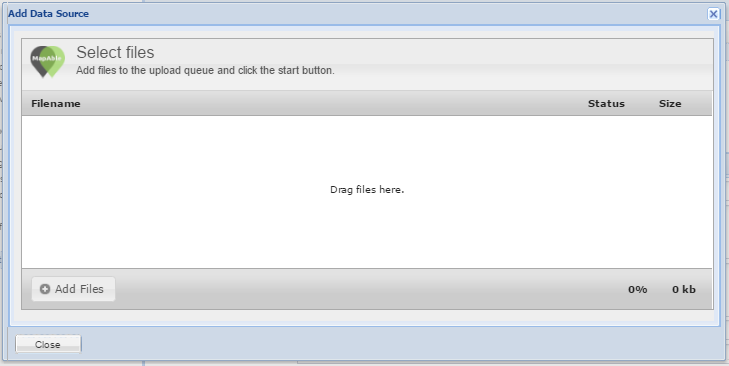 To add a Shapefile (which includes the set of files), KML/KMZ or GeoDatabase file (must be in Zip format format), simply select and drag the files into the "Add Data Source" box.
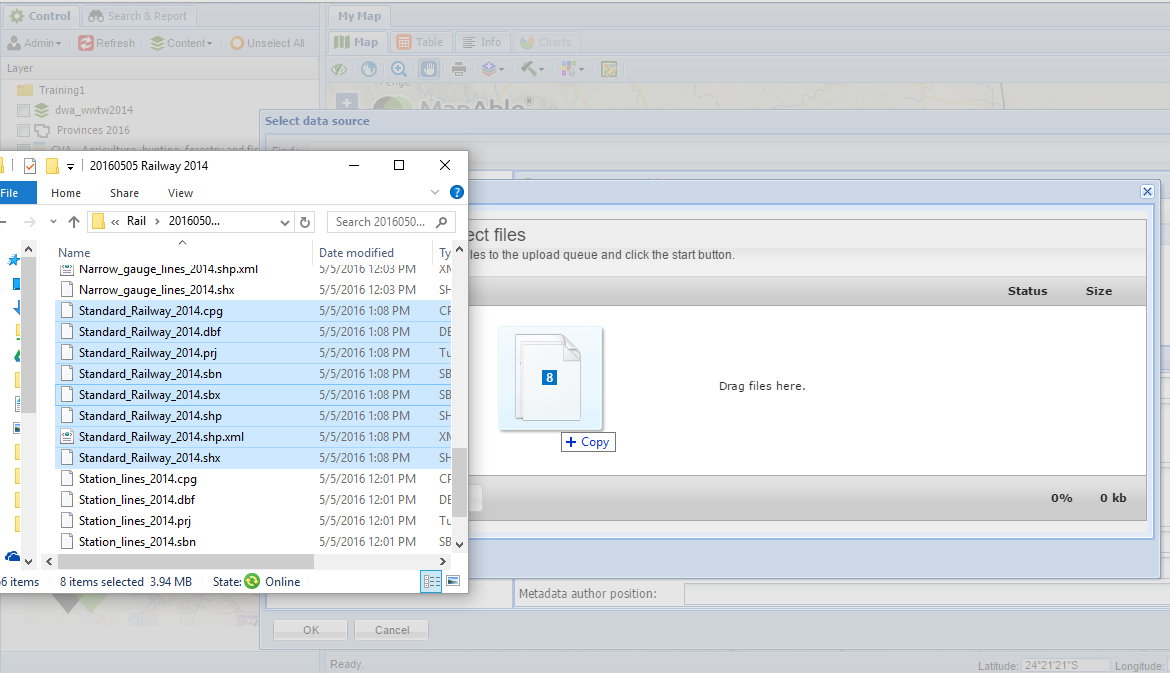 After the files have been dragged into the box, MapAble loads up the files while checking the files for errors.
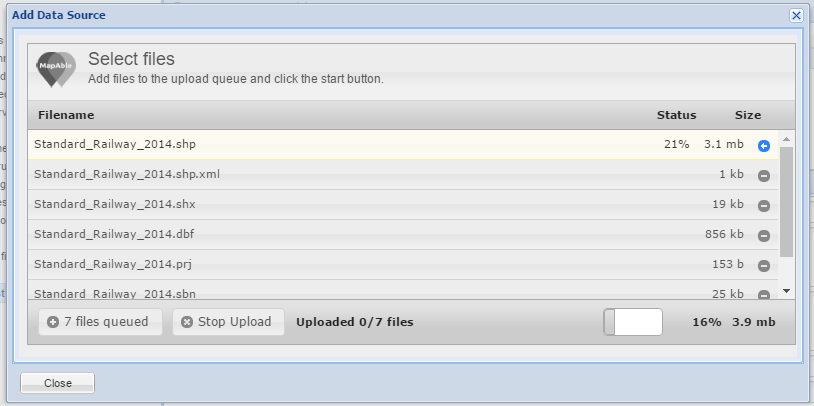 MapAble displays the upload progress and indicates if any errors has been detected.
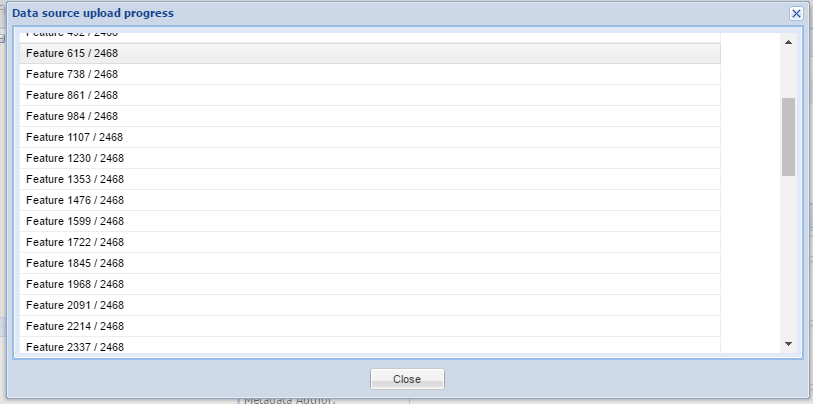 After the files have been loaded to your database the file, simply select the file from the "Add data source" and it will be added to your list of layers.
 |
Add Web Map ServiceA Web Map Service (WMS) is a standard protocol for serving geo-referenced map images over the Internet that are generated by a map server using data from a GIS database. The specification was developed and first published by the Open Geospatial Consortium in 1999.
To add data served from a WMS service, click on the Content>Add layer - WMS button for the next dialog box to open:
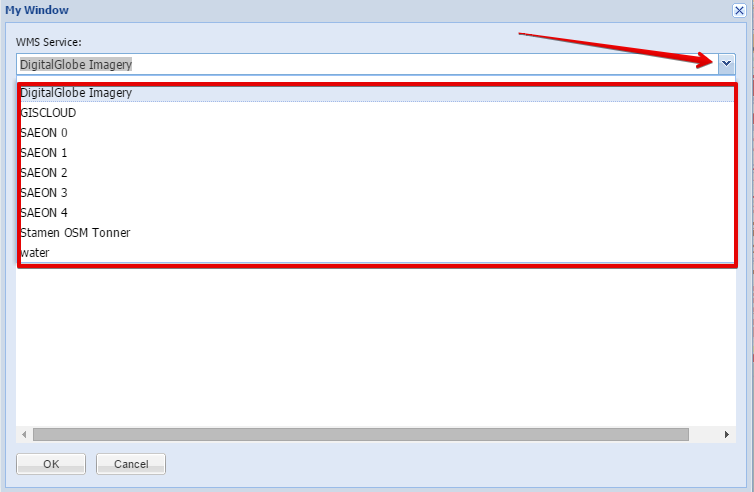
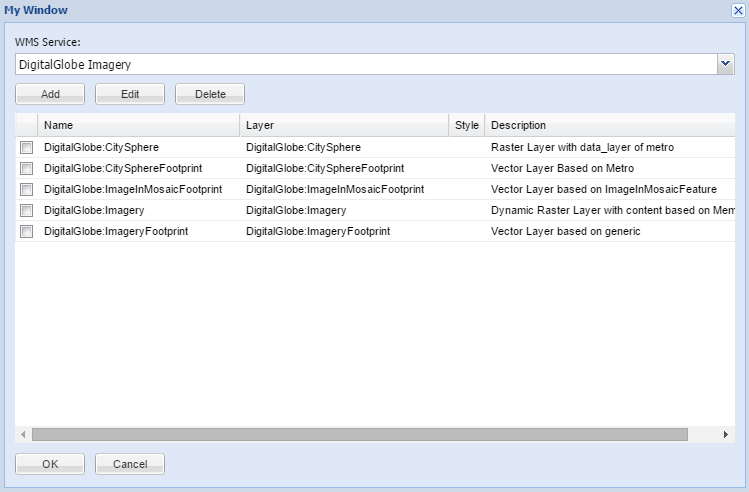 The user can choose to select an already registered service by clicking on the dropdown list:
 Once a service is selected, a list of available layers from the service will appear in the layers box:
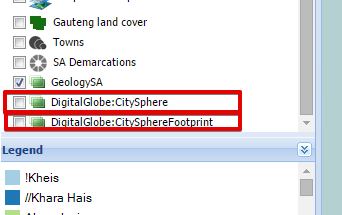
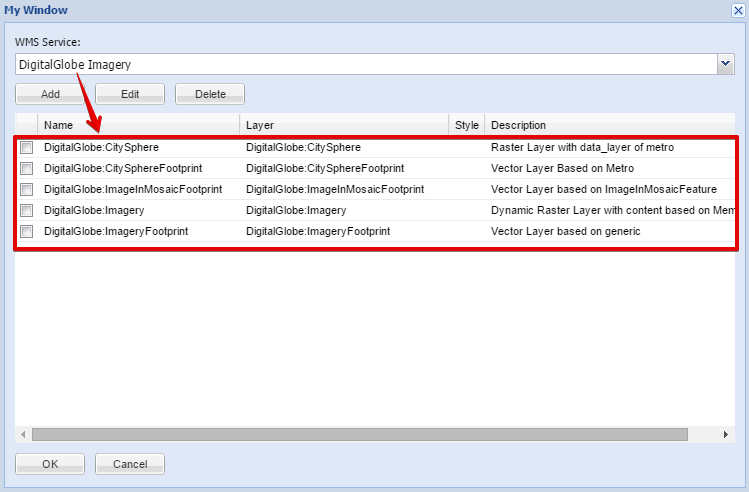 The user can tick the desired layers and they will appear in the List of Layers from where they can be turned on:
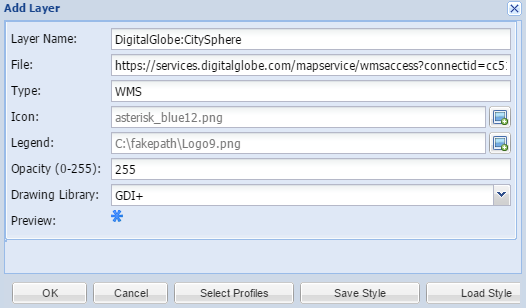
 To add a new WMS service, the user can click on the Add button which will activate the following input box:
 Here the user can give the service a name and type in the Service URL as supplied by the service custodians.
Although the user can change some of the icons and name of the WMS layer, the way it is presented on the map is determined by the custodians of the organisation that serves the data. The following can however be changed:
 |
Add a Group LayerA Group Layer is a special type of layer which can be used as a productivity and quick reference tool. It can further also be use to make selections of data layer more dynamic in the behaviour.
Please note that more than one group layer can be added to the view.
Using a Group Layer for quick referencingThe user can add a group layer by clicking on the Content>Add Layer Group button. The following dialog box will open;
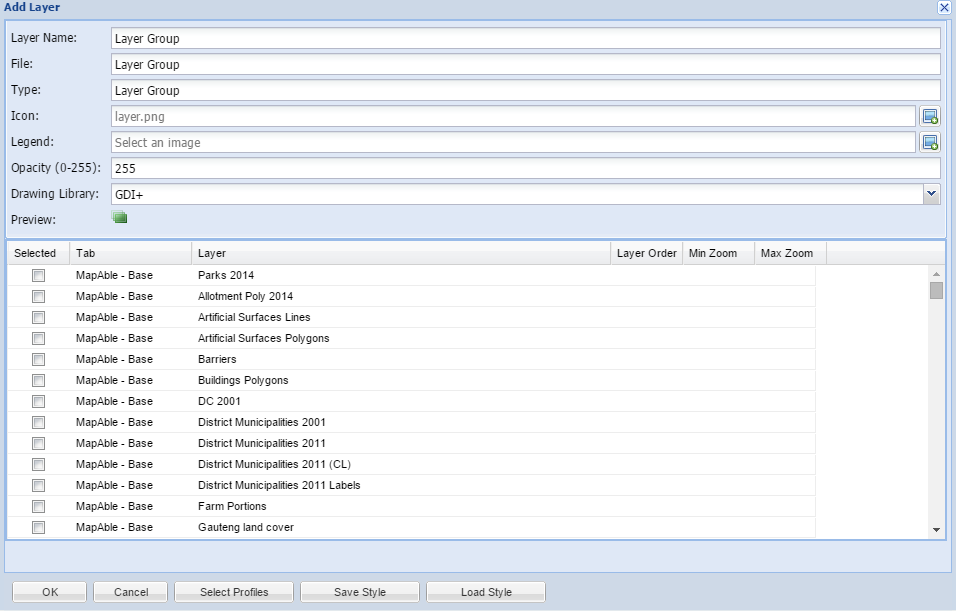 First, the user can give it an appropriate name and assign an Icon and opacity to the layer. Please refer to the Data Visualisation section for more info.
A list of data layers is displayed in the box below. These are all the layers that's already being added to the current workspace. This includes all the layers in all the Topic Tabs.
The next step is to select a layer or more than one layer to be shown on the map by ticking the tickbox next in front of the layer. The user can now hit the OK button.
The Layer Group will now be displayed in the List of layers:
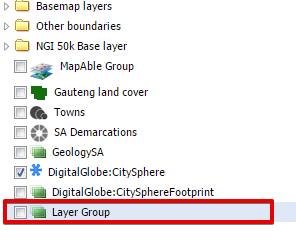 From here on the user can easily open any layer in other Topic Tabs in the current map for overlay and reference from the Layer Group!!
Using a Layer Group as a dynamic layerWhen the need arrives to work with data and labels that should only be visible at certain zoom extends, the Layer Group tool can be used to that effect.
A dynamic layer can consist of one or more layers. To create a dynamic layer, the user can open a new Layer Group as in using it for a Quick reference (see above).
But in this case a couple of setting will be added to each selected layer:
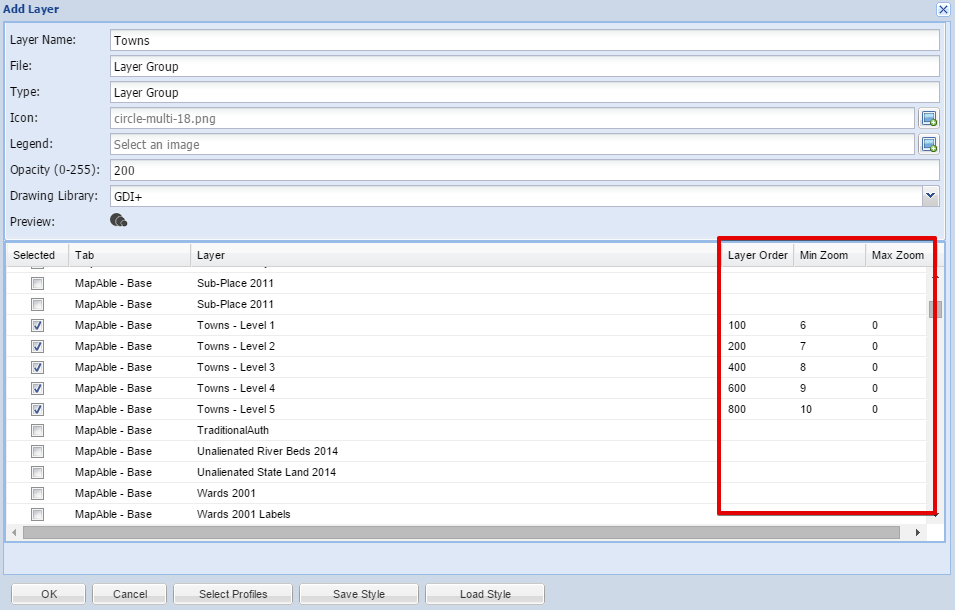 The 3 settings are the Layer Order, and Minimum and Maximum Zoom levels:
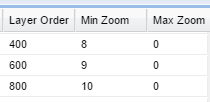 The layer order will determine which layer will be on top of the others. Any numbers can be used (e.g. 1, 2, 3 or 100, 200, 300)
The minimum and Maximum zoom levels are determined by the zoom levels of the map. Please refer to the Zoom Levels topic for more information.
Once the order and zoom levels are set up, the layer group can be used as a dynamic layer which different labels and layers appearing and disappearing as the user zooms in and out.
|
Editing a layerThe Edit Layer function allows the user to customise the behavior of a vector data layer. Please refer to the Data Visualisation section for detailed information
|