
Custom Info Box
<TODO>: Insert description text here... And don't forget to add keyword for this topic
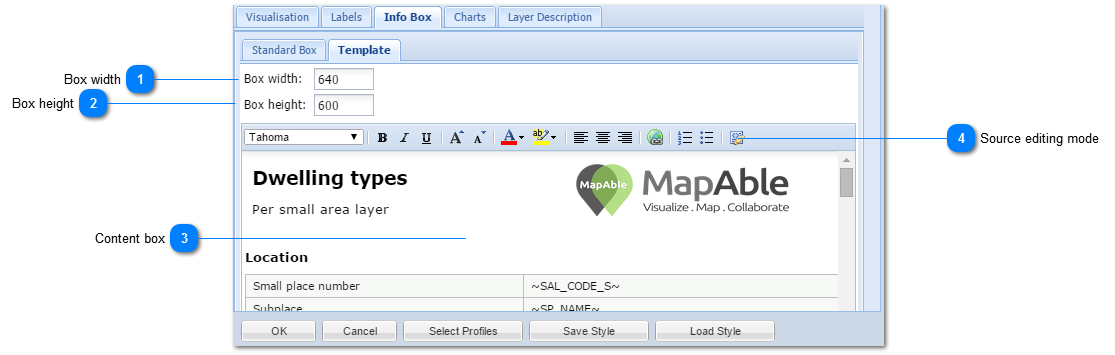
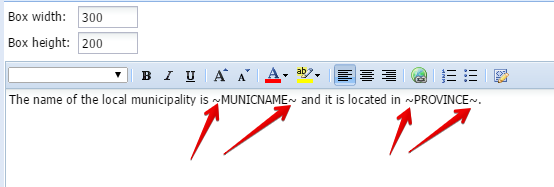
Content box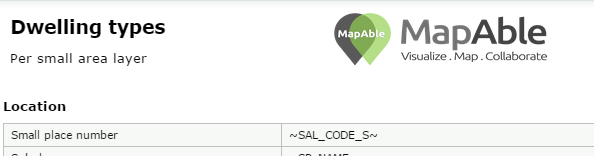 The most simple method of creating a custom template is to type normal text in the box and indicate any of the field names (you can look them up in the standard info box) of the attribute table by adding a "~" before and after the field name and use that to display the value in the info box:
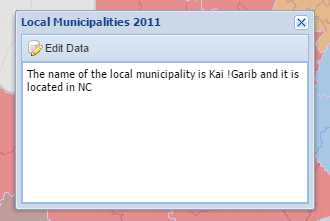
 The result will look like this:
 Creating a custom report template.For a more professional look, the user can create a report template in external software like MSWord® or MSExcel®. See the following section for a short description.
|
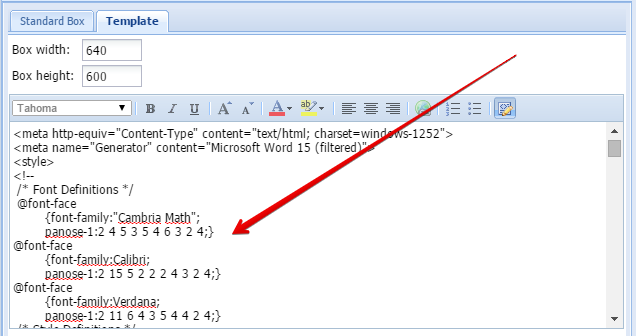
Source editing modeIn order to create a custom template, the user need to use external software like MSWord® or MSExcel®. Please refer to the Custom Templates section for more detail.
Once the template, normally in a table type structure, is complete, the user need to export it into an HTML format. The HTML code can then be pasted in the Content Box while it is in the source editing mode. To change the Content Box into the Source Editing Mode, the user should click on the
The user can now paste the HTML code into the box:
 The user can now click on the
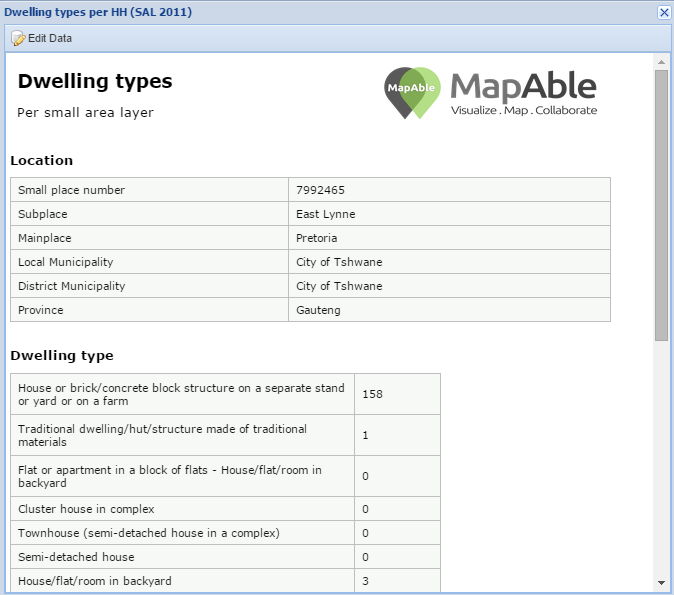
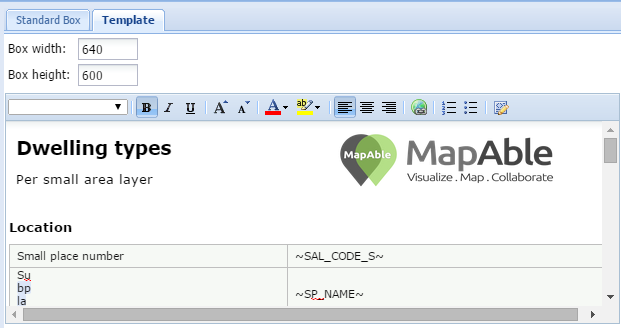 Now the user can use the new custom template as an info box in the map mode. A typical result will look like this:
| ||||